
🌟 Introducing: The Official RHS Craft Corner! 🌟
Published
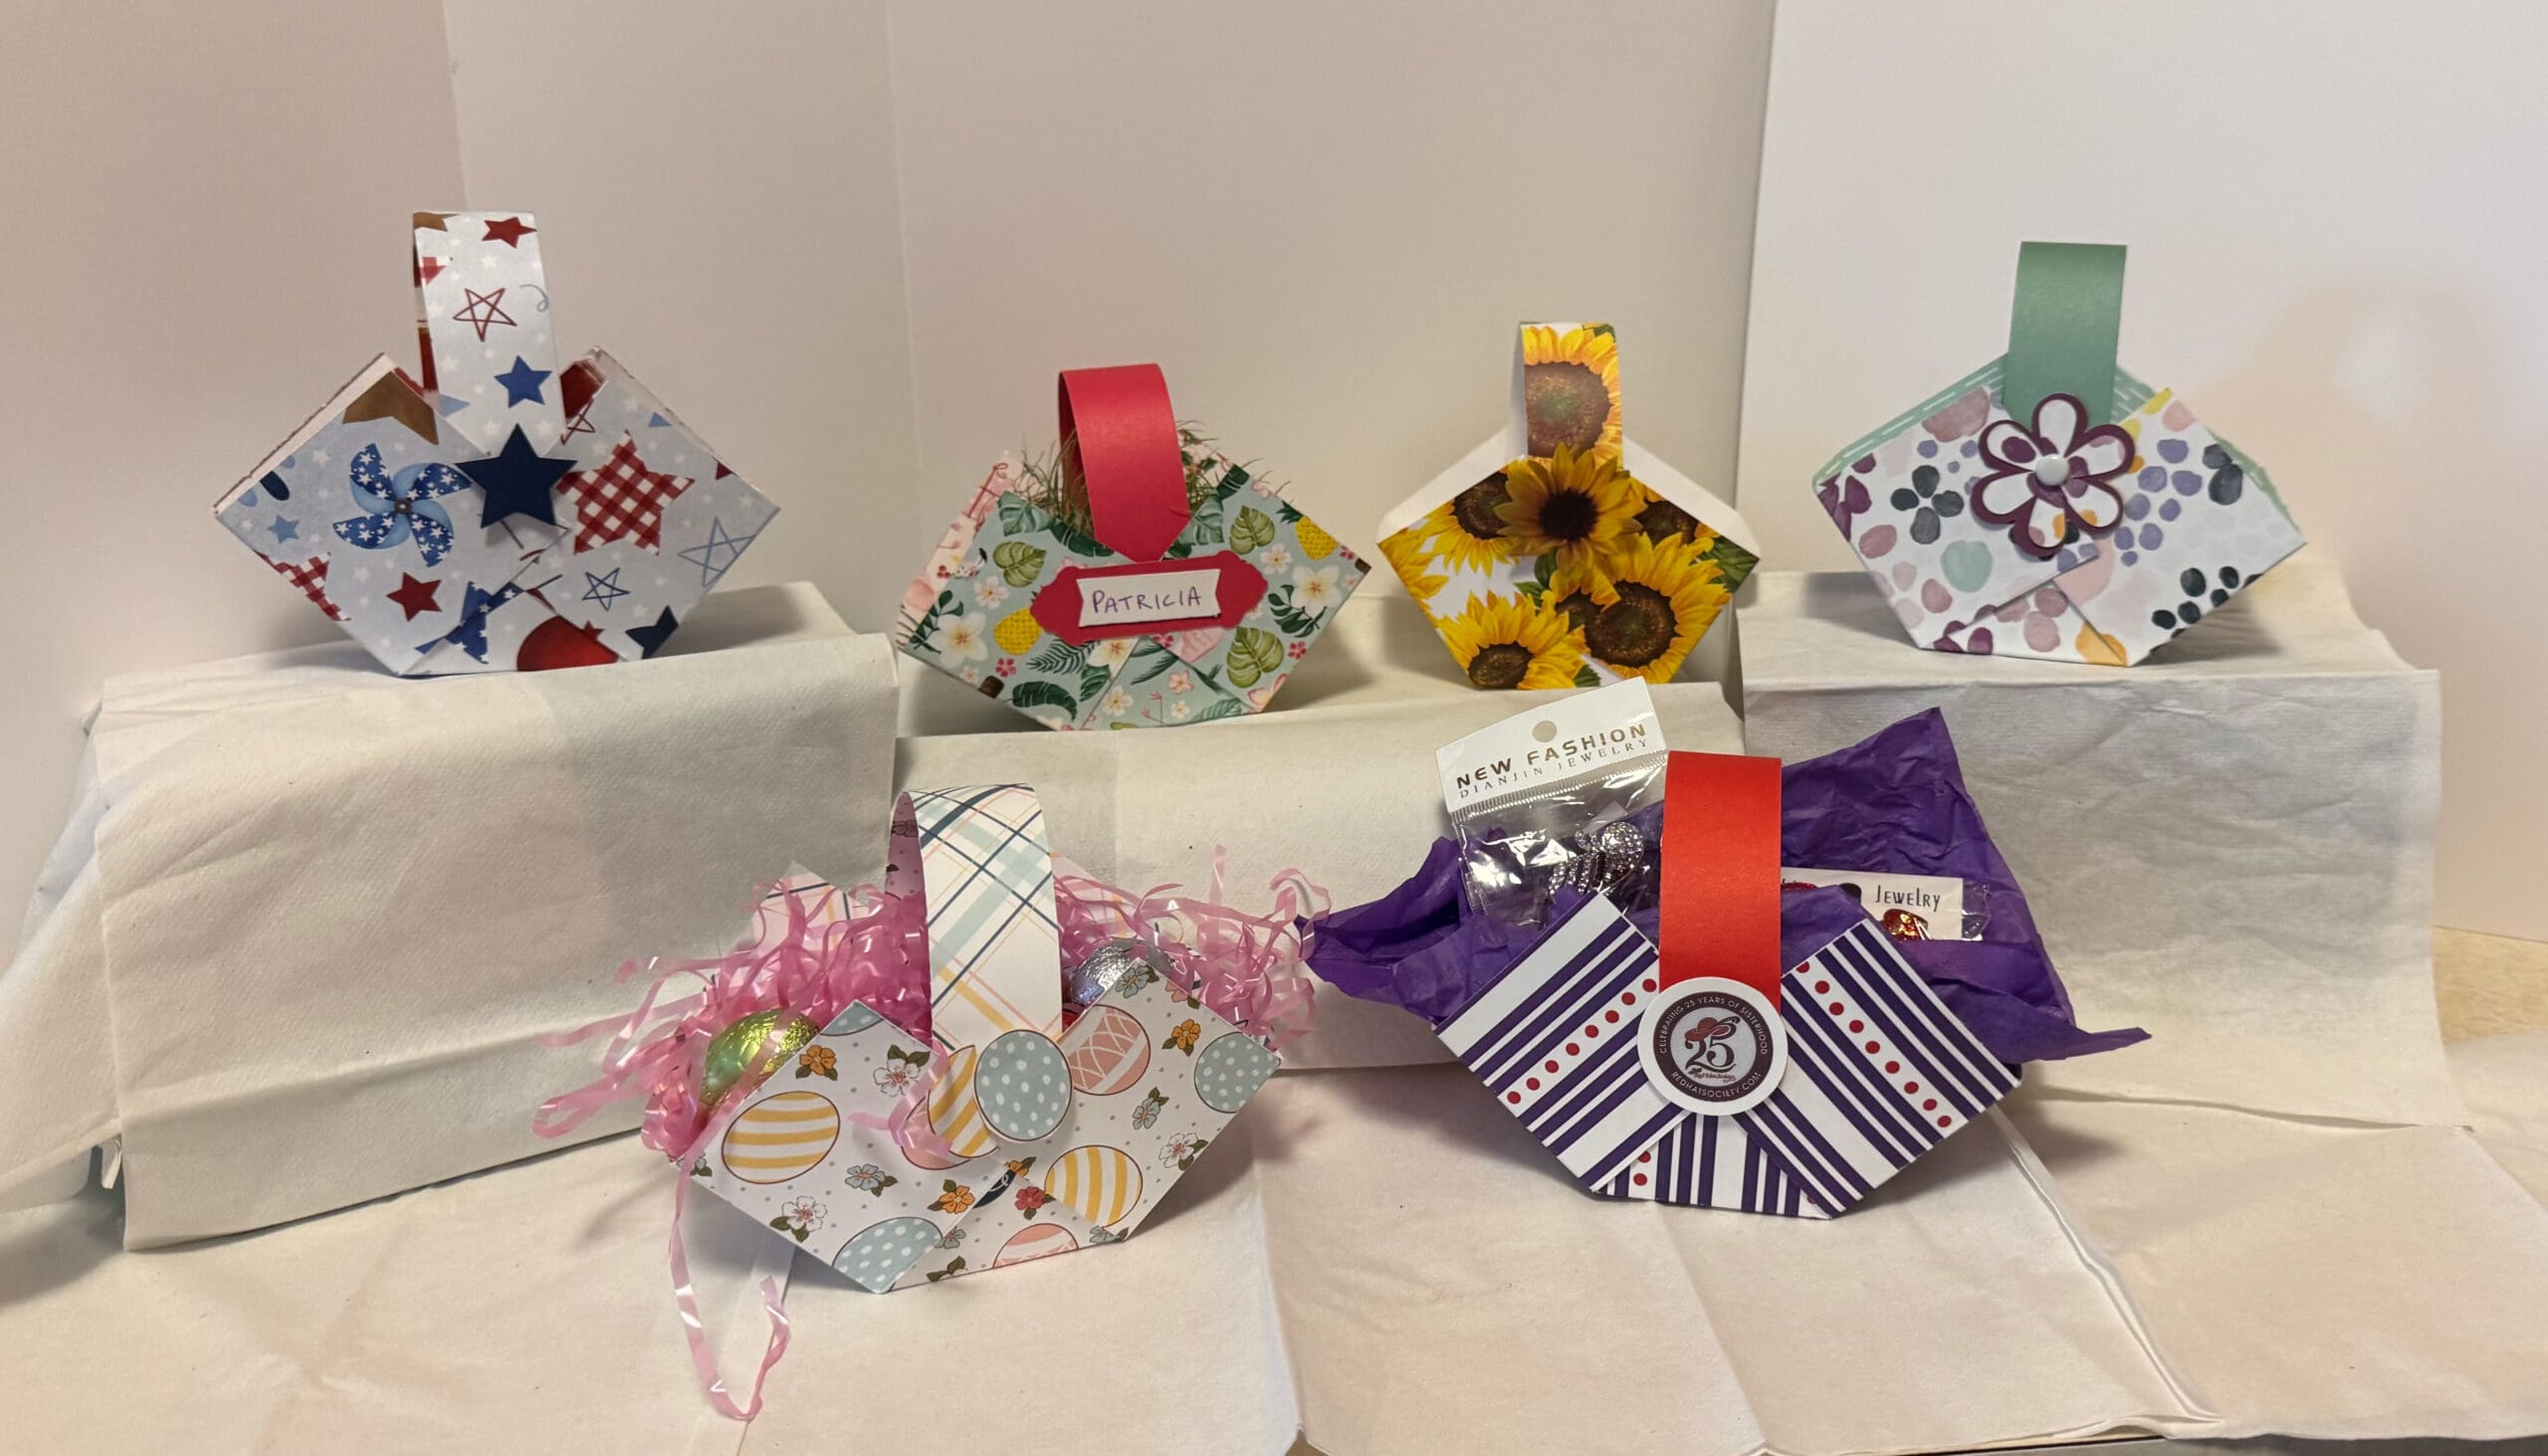
We're excited to launch something new this month in News & Notes—The Official RHS Craft Corner! Each month, we'll showcase a delightful craft for our members to try at home or during their next RHS gathering. It’s all about sparking creativity, sharing joy, and crafting together.
First up, we have a charming and easy-to-make Mini Basket from our dear Queen Patricia C., from Santa Rosa, California. Whether you use it as a gift basket, table decoration, or even a little party favor, this mini basket is sure to bring smiles.
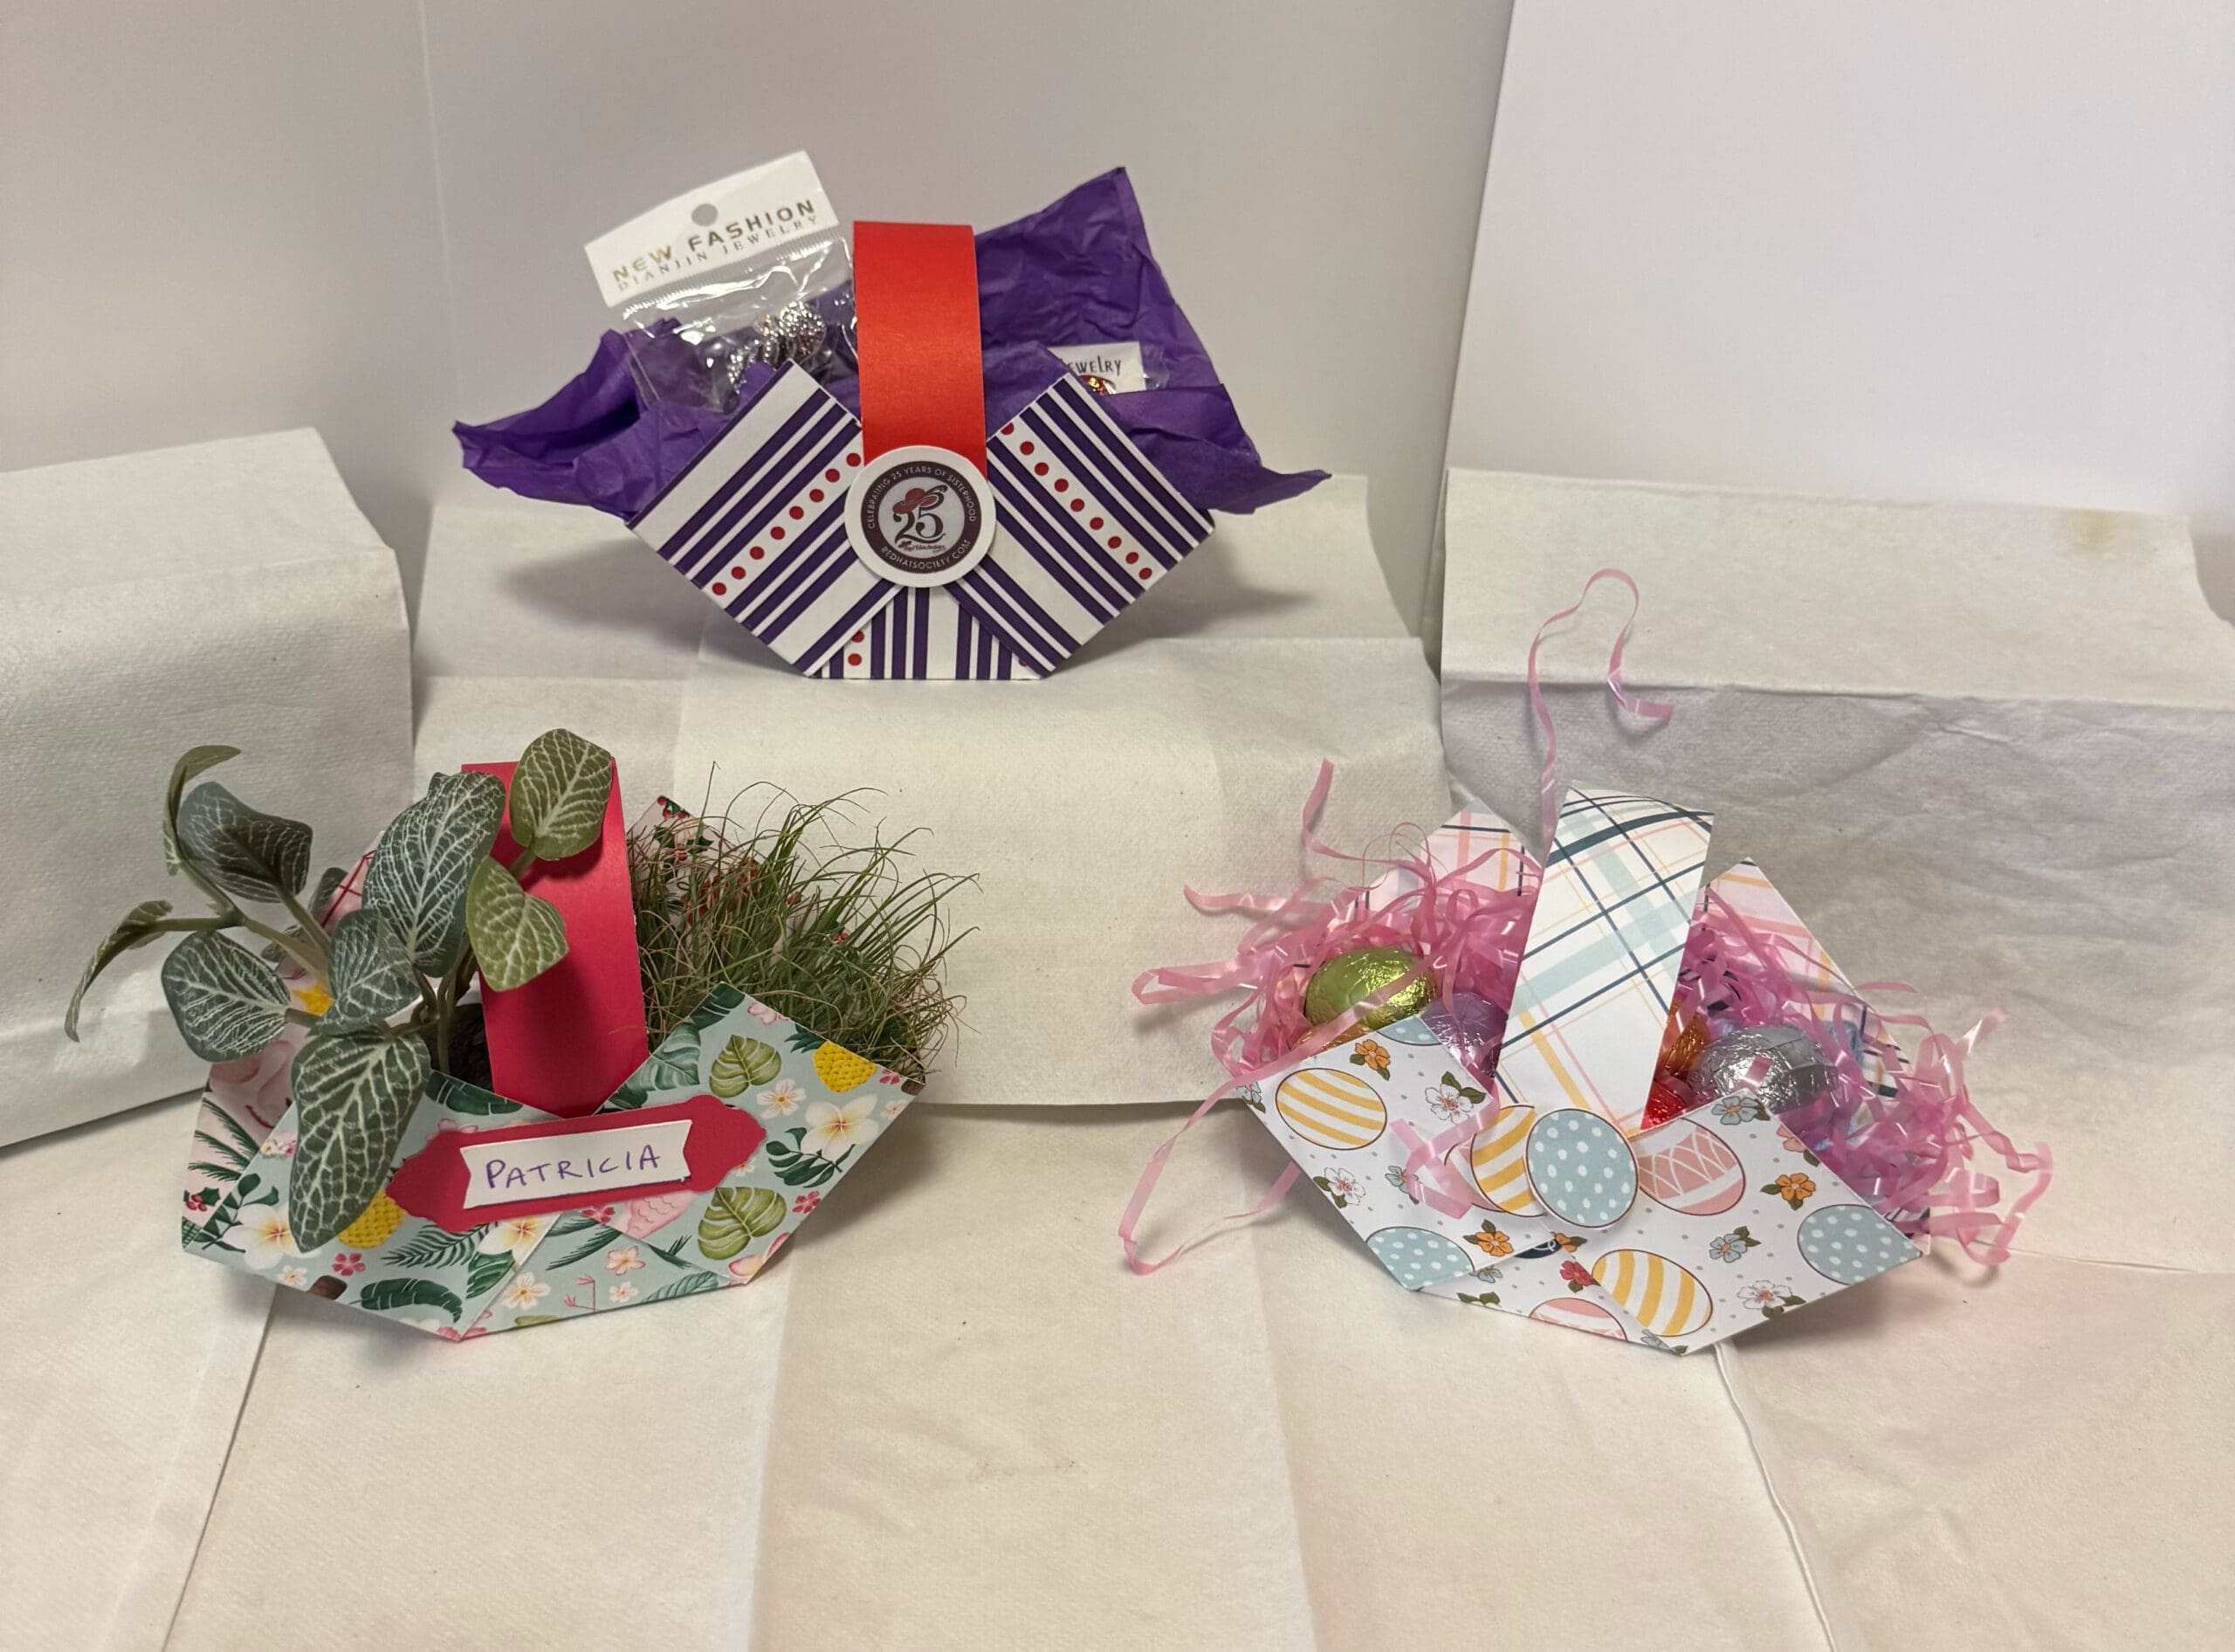
Craft of the Month
Mini Treat Basket
by Queen Patricia Cosgrove
You need:
- 1 piece of 6” x 6” cardstock
- 1 piece of 1” x 6” coordinating cardstock
(handle)
- A scoring board*
- A bone folder
- Scissors
- Double-sided tape
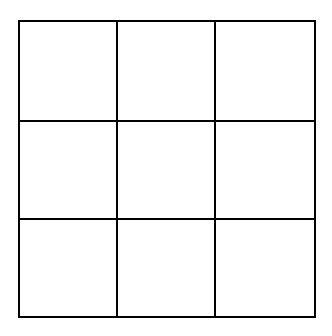
*If you do not have a scoring board, you can fold the paper into thirds both vertically and horizontally (like a business letter). This will create the 2” score marks.
Instructions:
1. Score your 6” x 6” cardstock at 2 inches on all sides. (Refer to blue lines in the diagram.)
2. Cut the two middle lines on the top and bottom—DO NOT cut all the way through. (Follow the red dashed lines in the diagram.)
3. Fold along the score lines.
4. Fold the middle flaps toward the center of the basket and attach adhesive to the top of each flap.
5. Peel off the release paper from one side of the adhesive tape. Then, pull the two edge flaps toward the center to create a “V” shape. Press them onto the adhesive on the middle flaps.
6. Repeat Step 5 for the other side of the basket.
7. Attach the handle by applying adhesive to each end of the 1” x 6” strip. Stick the handle inside the basket, with the patterned side facing outward if applicable.
8. Optional: Decorate the handle with accents or embellishments.
These mini treat baskets make great party favors, place cards, teacher gifts, or small treats. Have fun with them! Show off your creations on our social media pages, we’d love to see your work?